What We Do

This is what we do- ” We put color on wood. We hand mix stains and glazes. We do color matching, distressing, antiquing, refinishing, painted finishes, stains and glazes. Some of the ‘looks’ we create are Tuscany, French Country, Italian Classic, Rustic, and Traditional Paint & Glaze finishes.”

And my guiding philosophy- “Get the color right. Above all else, get the color right. And then get the ‘look’. And when these two are right and your customer is beaming then give them a long-lasting durable finish.”


Field & shop services available.

call now: 818-621-3120

Posted in sticky | Tagged | Leave a comment

Refinishing Kitchen Cabinets- Granada Hills, CA

Located in Porter Ranch this is a white oak kitchen dating back to the 1970’s. That makes it about 40 yrs. old. But, because it is solid oak it is still in very good condition.

We stripped the existing finish with a chemical stripper, scrubbed it with steel wool and lacquer thinner and followed that up with a thorough sanding.

Next we stained it with a burnt umber color that I mixed up. This was sealed with a pre-catalyzed vinyl sealer.

The sealer was sanded and then we applied a very heavy mix of raw umber and linseed oil. This was applied with a rag, brushed out with a natural bristle brush and then gone over with superfine steel wool.

Why rub it out with steel wool? Because it removes more color from the surface but leaves it in the grain creating a unique look that cannot be obtained by other techniques.

View the video below to see the finishing process and the final product.


Posted in Refinishing Cabinets, Video | Tagged | 1 Comment

Brentwood, CA, Kitchen Countertop- Water Based Polyurethane Finish

This job required a bomb proof finish that would stand up to heavy usage, extensive exposure to water, sunlight, household cleaners and whatever else might be spilled on a kitchen countertop. And, oh, by the way, the finish had to be non toxic and rapid drying.

For all those reasons we chose to use CIC Coatings Centurion water base clear polyurethane. A non toxic, low VOC catalyzed polyurethane that is extremely UV and weather resistant and is even suitable for boats (above waterline).

PRODUCT DESCRIPTION:  A true two component acrylic polyurethane topcoat. Designed to be used in interior and exterior applications where extreme weatherability and chemical resistance are required. Unlike most competitive polyurethanes the advanced chemistry involved is such to give you extreme durability far superior to “polyurethane” products that require little or no catalyzation. The Centurion Catalyzed Top Coat requires a 4:1 mix. with CW-4002 Hardener to form a fully cross linked bond that is superior to other products (courtesy of Greg Saunders and Annex Paints).

Other benefits of this finish are that it can be sanded and recoated in about one hour, it has almost no odor, it is non toxic and women, small children and pets don’t have to vacate the premises while it is being applied.

Below are pictures of this job and the process.

Countertop- solid Maple butcher block.

Back splash and bay window- mahogony.

The 1st three pictures below are the before shots.

(To enlarge any picture just click on the image.)


The next 3 show the prep work and masking.


Next is the spray application of the polyurethane.

Next are 4 shots of the wet water base polyurethane- note the bluish whiteness of the material as it dries.


And, finally, the finished product.


Posted in Counter tops, Green Finishes | Tagged | 1 Comment

Refinishing Garage Door- Los Angeles, CA

Prior to our arrival this door had been worked on by another contractor. He botched it thoroughly and then attempted to strip off his finish. This was botched also, so that when we arrived we found a door that required extensive prep work.

Here’s what we did:

1- Scrub with lacquer thinner and a scrubbing pad

2- sand (vigorously!)

3- apply stain

4- apply a sealer coat of thinned down

catalyzed polyurethane

5- sand

6- apply  a coat of glaze color

7- apply 1 coat of catalyzed polyurethane

8- sand

9-  apply 2nd coat of catalyzed polyurethane

10- apply 3rd and final coat of catalyzed

polyurethane as soon as the 2nd coat starts

flashing off but before it dries.

To view the process watch the slide show below.

This slideshow requires JavaScript.

Posted in refinishing doors, Uncategorized | Tagged | Leave a comment

Refinishing Entry Doors- Los Angeles, CA

The entry doors pictured below received the same treatment as the garage doors in the previous post.

We stood the doors up to spray because catalyzed polyurethane is an oil based product (slow to dry) and will attract dust like a magnet. By standing them up with the fan positioned to pull air (and dust) away from the surface of the door we achieved a silky smooth finish.

We sprayed one side, let the doors dry a few hours, rehung them and did the other side the following day.

Spray set-up.

A Matching Pair

Entry Doors

Garage door.

Posted in refinishing doors, Uncategorized | Tagged | Leave a comment

Cabinet Refinishing- Beverly Hills, CA 90210

On this job the homeowner was certain of three things:

Air Purifier

1- the lacquer smell would force them to sleep in the guest house

2- dust would permeate the entire house

3- the wall paint would be damaged by the refinishing process.

Upon completion of the job he was pleasantly surprised to discover that he had been wrong on all three counts.

How was this possible?

1- the lacquer smell was eliminated by use of a commercial grade

air purifier and fans.

2- the dust was contained by meticulous masking and sealing of

doorways with plastic.

3- the painted walls were also protected by meticulous masking and

the use of duct tape as outlined in the write-up “most important”

under the refinishing tab at the top of this blog.

Commercial Grade Air Purifier

Masking

Masking Off The Sub Zero

Posted in Refinishing Cabinets | Tagged | Leave a comment

Paint & Glaze Finish- Woodland Hills, CA

A true classic, the paint & glaze finish. For this job we chose to start with a white lacquer paint with a clear sealer

topcoat. With this as our base we then applied a glaze of van dyke brown followed by three coats of clear satin

pre-catalyzed lacquer. The process can be seen in the slideshow below.

This slideshow requires JavaScript.

Posted in Paint & Glaze, Slideshow | Tagged | 1 Comment

Cherry Cabinets- La Crescenta, CA

++++++++++++++++++++++++++++

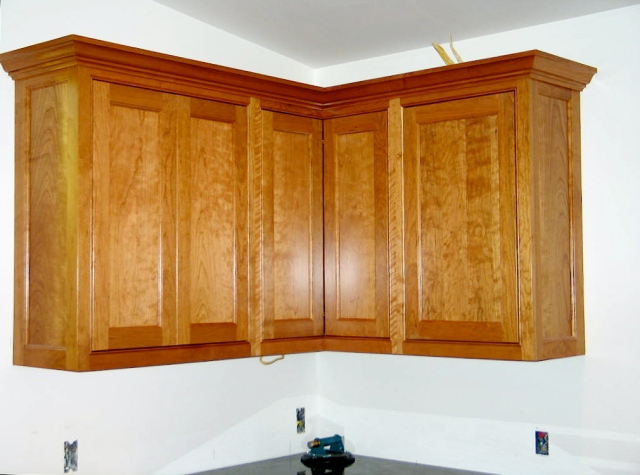
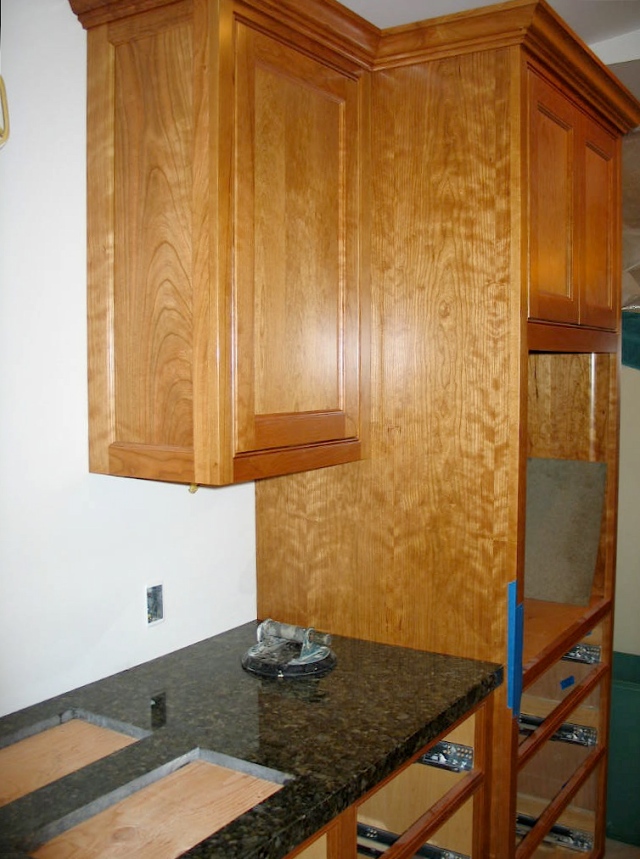
Randy Redfern likes cherry wood. And he likes it in its natural state.

So, to achieve the natural, aged cherry look the cabinets were allowed

to sit unfinished for probably about three months prior to our finishing

work. To enrich the natural color, bring out the depth of the wood

and enhance the grain we applied one coat of natural Danish Oil.

This is basically linseed oil mixed with various solvents. To this

we added one part paint thinner to one part Danish Oil, wiped it

on with a rag and promptly wiped off any  excess. This was allowed to

dry overnight and then finished with three coats of pre-catalyzed satin

lacquer.

xxxxxxxxxxxxxxxxxxxxxxxxxx

I’ll have more photos when the kitchen is completed.

Posted in Cherry Cabinets | Tagged | Leave a comment

Quartz Counter Top- La Crescenta, CA

Quartz, a change of pace from granite or marble.

"Light Shining Through The Windows" grain pattern.

More light shining through the quartz.

Posted in Counter tops | Tagged | Leave a comment

The Aftermath

Grandpa's Dustpan

In my previous post I waxed rhapsodic about the Mark 10 RTC

fume sucking wind machine. In this post let’s take a look at the

aftermath and see how it all worked out.

The pictures tell the story.

Once upon a floor.

Like we were never there.

Posted in Onsite Spray Booths | Tagged | Leave a comment

Onsite Spray Booth: New and Improved

I call this the Mark 10 RTC Fume Sucking Wind Tunnel. It is the result of a rather simple modification suggested and implemented by Randy Redfern ( customer & general contractor).

The full name is: Mark 10 Redfern Turbo Charged Fume Sucking Wind Tunnel. Because it

is about 10 times more effective than my previous set up which was the same thing sans the

masking paper directional fume sucking modifier.

Mark 10 RTC

The other side of the fan.

These next two shots illustrate the fume sucking power of the new fan set up. What a difference a little bit of

paper makes. Note how the plastic is billowing out from the walls.

This next shot shows the plastic barrier wall we put up to confine the over spray to that

area of the room. Note the over spray piled up at the base of the plastic wall.

Plastic Barrier Wall

These next two shots show an auxilary fan that pulls fumes off the drying racks as the doors

gas off during the drying process.

Auxilary Fan

Drying Side of Room

The following shots show the effectiveness of the filters and fans.

Mark 10 RTC (on the left) and Auxilary Fan (on the right)

And the results.

Filter saturated with over spray- Mark 10 RTC

Auxilary Fan filter catching the drying fumes.

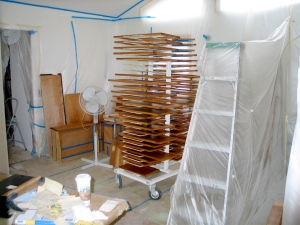
Here are some thumbnail shots of the room we turned into a spray booth. Notice that all the walls

are covered in plastic and the windows all have filters. A very effective set up.

Posted in Onsite Spray Booths | Tagged | Leave a comment